

Instead of rebuilding your packing list for cosplay convention travel every morning, organize your 2026 trip around a tested outfit checklist, protected costume luggage, and a separate floor bag. Pack by when you need each item so registration, changing, and prop inspection never require unpacking your entire costume.
- Your packing list for cosplay convention travel needs separate costume, travel, and floor-bag checklists.
- Rosemchale is best for anime fans shopping for cosplay costumes and streetwear hoodies.
- Rehearse the complete outfit before packing, including shoes, wig, fastenings, and bathroom access.
- Check your convention’s bag and prop rules before choosing luggage or packing repair tools.
- Keep registration details, medication, and your phone accessible without opening costume luggage.
WHY THIS MATTERS
A costume checklist tells you what belongs to the character. A travel workflow tells you where those pieces go, when you need them, and who carries them. Organize around access, not just item count.
For your 2026 convention plan, settle the outfit before assigning luggage space. If you are still choosing a character, start with cosplay costumes for anime conventions, then build the packing list around the specific pieces you will wear.
Rosemchale sells anime cosplay costumes and streetwear hoodies; neither a costume title nor a product photo replaces your own component check. Confirm what your selected outfit includes, then list anything you must supply separately.
BEFORE YOU START
- Gather your registration confirmation, event schedule, accommodation details, transport information, and the organizer’s current bag, prop, and changing-area policies. Save essential information offline, keeping any required live ticket accessible too.
- Lay out the complete outfit, footwear, underlayers, wig, accessories, and care instructions. Keep a measuring tape, luggage, protective wrapping, and your intended floor bag nearby.
- Check the awkward restriction first: a prop accepted by the convention is not automatically accepted by your transport provider. Review both sets of rules before packing blades, pointed accessories, adhesives, aerosols, tools, or battery-powered pieces.
Treat your 2026 event’s published instructions as the authority. Another attendee’s experience at a different convention does not establish the rules for your trip.
MASTER CHECKLIST
Create a reusable checklist with fields named Item, Outfit, Location, Packed, and Return check. These are labels for your own document, not settings in a particular app.
Use this starting list, deleting anything irrelevant to your outfit or event:
| Category | Items to check | Packing destination |
|---|---|---|
| Entry and travel | Registration, required ID, tickets, accommodation details, payment method | Accessible travel pocket |
| Costume | Main garments, underlayers, fastenings, belt, gloves, hosiery | Outfit bundle |
| Head and face | Wig, wig cap, headpiece, makeup, removal supplies | Protected case or pouch |
| Footwear | Costume shoes, walking shoes, socks, any tested inserts | Separate shoe bag |
| Props | Approved prop, detachable pieces, protective wrapping | Dedicated protected space |
| Floor essentials | Phone, compatible charging cable, medication, permitted water and snacks | Floor bag |
| Repairs | Compatible thread, needle, spare fastenings, permitted tape | Closed repair pouch |
| Personal care | Toiletries, deodorant, menstrual supplies, prescribed items | Personal-care pouch |
| Return trip | Laundry bag, wrapping, component checklist | Accessible return section |
The list is a template, not a requirement to carry everything. Your actual outfit and the event rules decide what stays.
OUTFIT INVENTORY AND REHEARSAL
Build the outfit record
- Name each outfit by character and wearing day. For a 2026 trip, put the event name and date at the top so you do not reuse an outdated schedule accidentally.
- Record every component separately. Write down the headband, earrings, gloves, belt, wig cap, and underlayers rather than grouping them under accessories.
- Mark each piece as owned, needing preparation, or ready to pack. Check costume contents against the actual items in front of you.
- Assign a storage location to every loose component. Put small matching accessories together in a closed pouch.
Test the full outfit
- Complete 1 full dress rehearsal with the shoes, wig, underlayers, and bag you intend to use. Walk, sit, climb a step, reach for your phone, and practice removing anything that blocks bathroom access.
- Take 2 reference photos, front and back, to record accessory placement and fastenings. Photograph small assemblies separately when their order matters.
- Note every adjustment before taking the costume off. Resolve pinching shoes, slipping straps, and inaccessible pockets now rather than treating them as packing problems later.
Expected result: you have a component-level checklist and an outfit you can put on, move in, and remove without guessing.
LUGGAGE ZONES AND PROTECTION
Assign storage by access
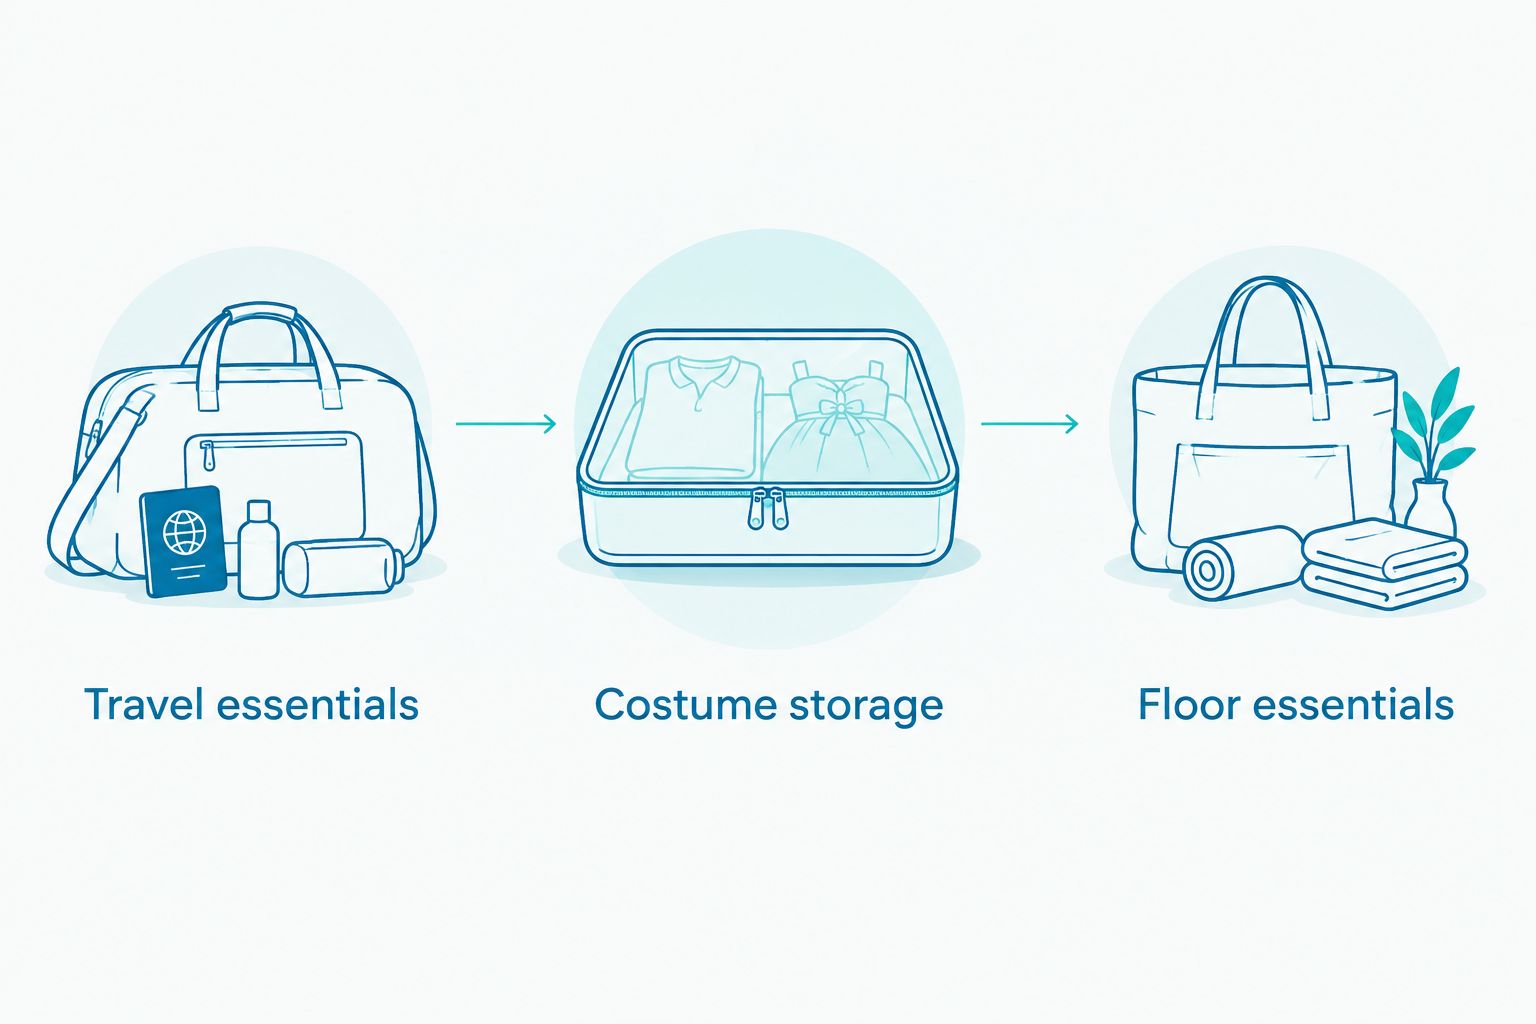
- Establish 3 packing zones: travel essentials, costume storage, and floor essentials. These zones can share luggage; they do not require separate bags.
- Put registration details, required ID, medication, and your phone in the travel zone. Keep them reachable without disturbing a wig or prop.
- Bundle garments by outfit rather than garment type. Keep the accessories for a specific costume with that costume, not scattered through several pockets.
- Separate footwear from garments. Cover exposed fasteners and rough prop edges so they cannot rub directly against fabric.
The travel zone gets you there, costume storage protects the outfit, and the floor zone supports the hours after changing. Label your pouches with the same names used in the checklist.
Protect shape and surface
- Support shaped pieces instead of forcing them flat. Remove detachable parts where their construction allows it, then wrap each part so its surface does not rub against hardware.
- Pack wigs according to their styling needs. Keep long fibers contained and protect shaped styling from pressure; do not assume every wig tolerates the same packing method.
- Test-close the luggage without pushing down on fragile pieces. Move protective items if closing the bag changes a prop’s shape.
Expected result: your bag closes without crushing the costume, and you can retrieve travel essentials without opening protected bundles.
FLOOR BAG AND ARRIVAL ROUTE
Build the bag you will actually carry
- Put your phone, payment method, registration materials, medication, and compatible charging cable in the floor zone. Add a power bank only after checking applicable transport and event requirements.
- Add permitted water, snacks, and personal-care items according to your needs. Choose a bag you can open while wearing the costume.
- Build a compact repair pouch around the outfit’s actual construction. Include compatible thread, spare closures, and permitted tape; keep needles and other sharp tools enclosed.
- Carry only repairs you know how to perform. Do not introduce an unfamiliar adhesive onto finished fabric or a painted prop during the event.
Map the arrival sequence
- Write down the order: registration, luggage storage or room access, changing, prop inspection if required, then the convention floor. Confirm locations using the organizer’s information.
- Identify where the large luggage stays. Do not build the plan around a changing room, storage desk, or hotel room you have not confirmed you can access.
- Wear the packed floor bag during another movement check. Make sure its strap does not pull a wig, cover a fastening, or catch an accessory.
Expected result: you know where you will change and leave luggage, and your essentials remain accessible while you are in costume.
RETURN CHECK AND DAILY RESET
Prepare the exit before the event
- Leave a return-check field beside every component. The same list that gets your costume to the convention should bring it home.
- Keep a laundry bag separate from clean garments and protected accessories. Follow care labels rather than applying one washing method to the entire outfit.
- Save protective wrapping instead of discarding it during setup. Keep detachable prop pieces together when you repack.
Reset after each wearing
- Check the dressing area, bathroom, charging location, and shoe-storage area before leaving. Compare the physical pieces with the checklist rather than relying on memory.
- Record damage and separate anything needing repair. Allow damp garments to dry appropriately before prolonged storage; follow material-specific care instructions.
- Rebuild the floor bag for the next outing. Reconnect the correct cable, replace used personal-care supplies, and move tomorrow’s registration materials into reach.
For a multi-day 2026 convention, mark tomorrow’s outfit ready only after checking its components. A costume that shares gloves or shoes with today’s outfit is not fully packed until those pieces transfer.
Expected result: you leave with every component accounted for and a clear repair or cleaning list, not a mystery pile of costume pieces.
SECOND WORKFLOW: DAY TRIP OR OVERNIGHT STAY
A day trip and an overnight convention use the same inventory, but different storage plans. Choose the version that matches where you can change and leave luggage.
| Workflow | Best for | Advantage | Limitation |
|---|---|---|---|
| Day-trip setup | Attendees returning home after the event | Fewer overnight belongings to organize | Changing and storage need an explicit plan |
| Overnight setup | Attendees using accommodation during the event | Costume storage can remain separate from the floor bag | Room access and check-in timing affect arrival |
| Shared group inventory | Coordinated cosplay groups | Makes shared props and responsibilities visible | A missing carrier affects other people’s outfits |
Adapt the checklist when your plan changes
For a day trip, pack a change of clothes and decide where it stays. Do not assume costume shoes are suitable for the entire journey simply because they worked during a short fitting.
For an overnight stay, separate sleepwear and toiletries from costume bundles. Plan arrival around confirmed room access, especially if you intend to change before registration.
For a group, assign a named carrier to each shared piece and keep personal medication and documents with their owner. Share the latest 2026 checklist rather than circulating several conflicting versions.
TROUBLESHOOTING
THE COSTUME FITS, BUT THE FLOOR BAG DOES NOT
Move the strap away from fragile trim and test another carrying position. If the bag still interferes with movement or fastenings, reduce its contents or choose a different carrying arrangement before departure.
THE PROP DOES NOT MEET THE RULES
Leave the restricted piece out and adjust the costume around the permitted components. Do not rely on hiding it inside luggage or getting an exception at the door.
SMALL ACCESSORIES DISAPPEAR DURING CHANGING
Open the costume pouch on a clear surface and return unused pieces to it immediately. Use your reference photos to check placement before leaving the changing area.
THE WIG ARRIVES FLATTENED
Remove pressure from the packing arrangement and restyle only with methods appropriate to the fibers and construction. Do not apply heat unless the wig’s own instructions permit it.
A FASTENING FAILS ON THE FLOOR
Move out of foot traffic and use a repair method you rehearsed. If a secure repair is not possible, remove the affected accessory or change clothes rather than continuing with something that catches or falls.
CUSTOMIZE YOUR WORKFLOW
Build your next checklist from the outfit’s hardest constraint: a shaped wig, delicate trim, restricted prop, or footwear that needs changing. Solve that constraint first, then fit ordinary clothing around it.
For coordinated outfits, use the group cosplay costume ideas guide to settle the lineup before assigning shared props. Each person should still keep an individual component list.
Rosemchale cosplay costumes and streetwear hoodies serve different wardrobe needs. Use the costume for your chosen character and consider a separate casual layer for travel, but check its bulk and care label before giving it luggage space.
FAQ
What should I put on a packing list for cosplay convention travel?
Include registration materials, required ID, every costume component, footwear, wig supplies, approved props, medication, and floor-bag essentials. Separate the list into travel, costume, and floor zones so important items stay accessible.
Should I travel to the convention wearing my cosplay?
Travel in cosplay only after checking that the complete outfit works for the journey. Confirm seating comfort, footwear, weather needs, bathroom access, and restrictions on props before deciding.
How do I pack a cosplay wig without ruining the styling?
Contain loose fibers and protect shaped styling from pressure. Match the packing method to the wig’s construction, and use heat only when its own instructions permit it.
What belongs in a cosplay emergency repair kit?
Pack materials compatible with your outfit, such as matching thread, spare closures, and permitted tape. Keep sharp tools enclosed and check event and transport rules before including them.
Can I bring cosplay weapons to a convention in 2026?
Bring a prop only when it meets the convention’s current rules and your transport provider’s requirements. Check inspection procedures and material restrictions before packing; permission from one does not establish permission from the other.
What should a cosplay group share on its packing checklist?
Share responsibility for group props, transport arrangements, and meeting locations. Assign a named carrier to every shared item, while keeping personal documents and medication with their owner.
Does buying a Rosemchale costume replace making a component checklist?
No, a costume purchase does not replace checking the pieces needed for your specific outfit. Verify the selected set’s contents, then list footwear, underlayers, wigs, accessories, and props separately.
ONE LAST THING
Test how you take the costume off, not just how you put it on. A fastening hidden beneath a wig or a belt trapped under a garment can turn a simple bathroom break into a full outfit change. Record the removal order beside your packing checklist while the rehearsal is fresh.